
Ok so i was looking for a photoshop lesson for my cuz .. ( mine take forever to learn )
how to make a ZOMBIE , and i came across this P.O.S. one lol. if this is how this guy
plans of teaching a lesson lets hope his SHIT doesn't trun out like this young ladies.
ROFL

Here is the Lesson ....
How to Create a Zombie in Photoshop
By
updated: August 21, 2009
I want to do this! What's This?
Adobe Photoshop can be used for many photo and graphic needs, either professional or just for fun. Whether you want to recreate a poster for a horror movie or a novelty picture of yourself, you can use Adobe Photoshop to turn yourself, or someone you know into a zombie.
Difficulty: Moderately Easy
Instructions
1
Open Adobe Photoshop and load the picture into the program by going to "File" and "Open." The best pictures to edit are ones with crisp quality, good lighting and where the person is staring directly at the camera.
2
Start with the eyes. Use the rubber stamp tool to spread the white of the eye across the whole eye, eliminating the iris and pupil. Hold "Alt" and click in the white section of the eye. Click and paint on the white over the pupil of the eye until the eye is completely white.
3
Use the "Burn" tool to darken areas around the eyes. When used in extreme and around certain areas, the "Burn" tool helps the zombie effect take hold. Apply the "Burn" tool heavily around the inner edges of both eyes. This will create the dark "dead" look that zombies have. Use the burn tool moderately around the outer edges of the eyes.
.
4
Continue to use the "Burn" tool on the rest of the body. Leave some spots with normal skin to make the picture look more realistic, but cover as much as you can with various shades of burn. Use the tool heavily on fingers and creases like the elbow and wrinkles. The tool can also be used to add dirt to light-colored clothes.
5
Use the "Pen Tool" to trace over the person's face. Once you have gone all the way around, right click and choose the "Make Selection" option. Press "CTRL+C" to copy the face. Press "CTRL+V" to paste the face down into a new layer. Click on the new layer and give it a blue hue by going to "Image" and "Adjustments." When the skin looks light blue, press "OK." Change the opacity of the layer to a little over 40 percent in order to blend both heads together. This gives the skin a pale, dead zombie look.
6.
Add blood to the zombie by using a brush with an opacity of around 44 percent so that the blood looks more lifelike. Add blood in appropriate places like the hands, face and dripping from the mouth
7
Add in any zombie props from other pictures you may have, like a graveyard, other zombies or weapons. This helps add an even more zombie-like feel to the final product.
@ scooty yelling
If any one wants a lesson just leave a comment and i will send you a Good one :)
Zombie Johnny


 |
| @scottyyelling |
@ scotty Yelling
As Your Read on or LOOK on , at the END of this is a good pic to Cleanse THE EYS ROFL


@scotty yelling

Yes This is A real Site I Found
My Zombie Insurance
Get Protected. Get Zombie Insurance. Guess i Better GETS ME SUM
http://www.myzombieinsurance.com/privacy.html
AS Promised Something that is well NEEDED to CLEANS THE EYES after a Blog
LIKE THIS
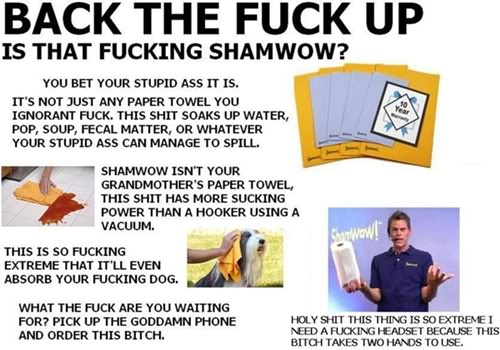
The Best Product FUCKIN Product EVER Made ROFL
IT washes, dries and polishes any surface. It's like a towel, chamois and sponge all in one!
Have A Great DAY
@scotty yelling
No comments:
Post a Comment